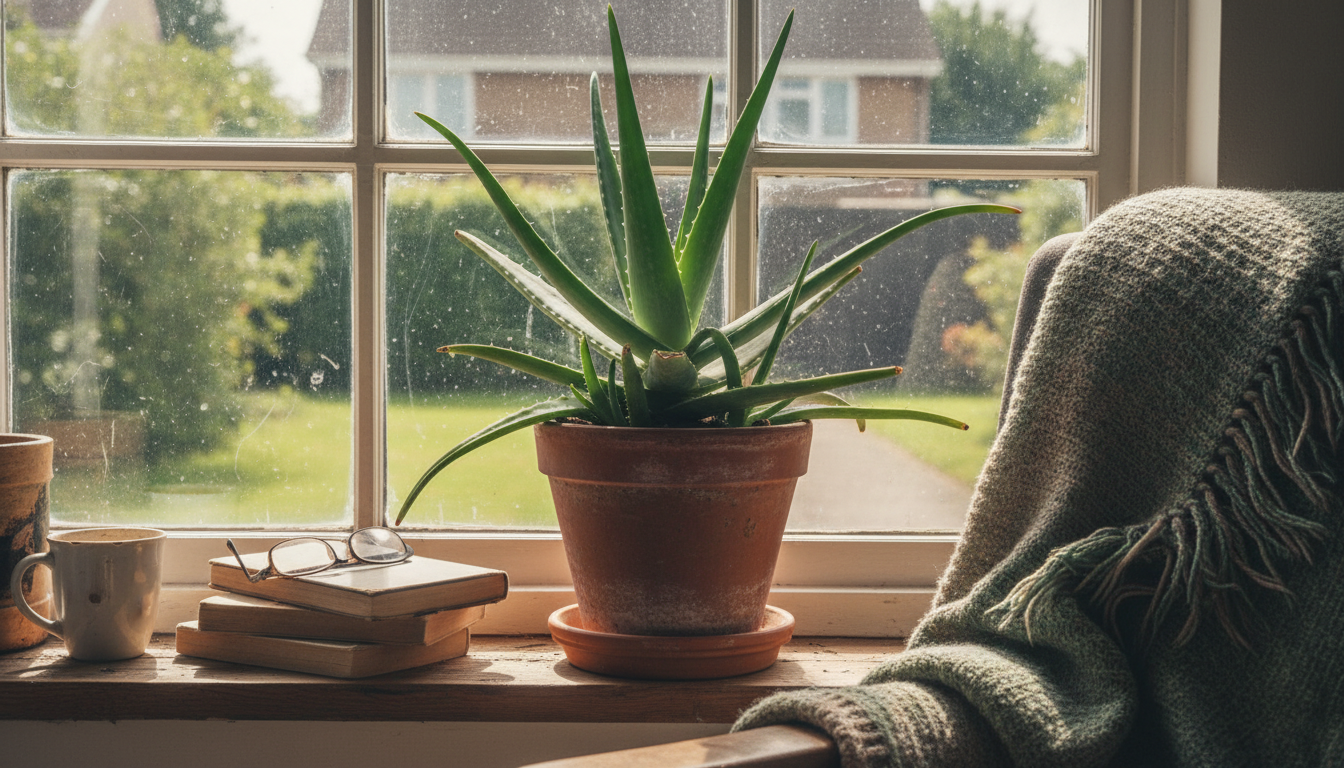
Aloe Vera: The Living First-Aid Kit
Master the art of growing Aloe Vera. Silas shares his secrets for desert light, minimal watering, and how to properly harvest the healing gel within.
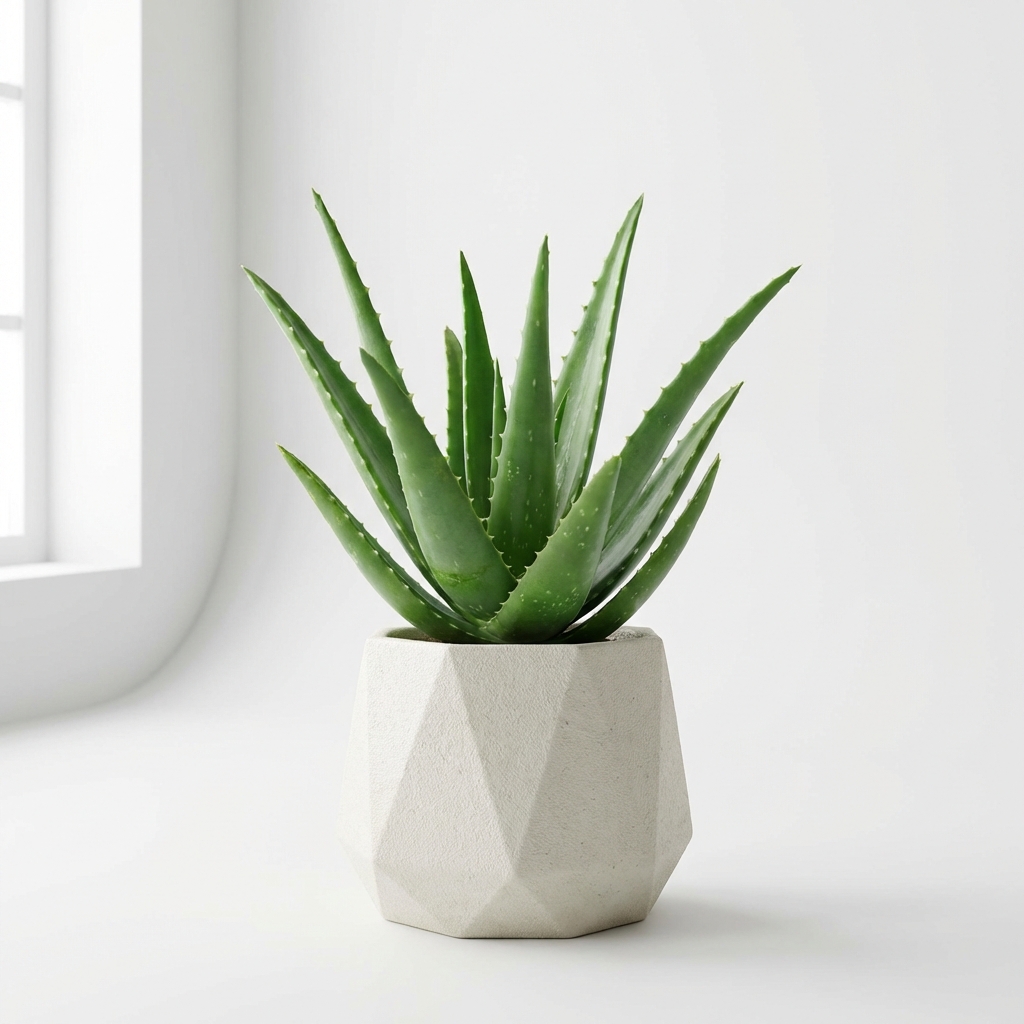
Aloe Vera
Aloe vera
Care Level
Easy
Light
Full Sun
Water
Low
Humidity
Low
Aloe Vera: The Practical Spiky Friend
The Quick Dirt
The Aloe vera is the ultimate functional plant. It asks for a sunny spot and a gardener who knows how to leave it alone. In return, it offers year-round greenery and a natural remedy for life’s little scrapes and burns. It is a quiet, rugged companion that thrives when you stop worrying about it.
The Deep Dive
I have had the same Aloe vera mother plant for nearly twenty years. She has seen me through kitchen burns, summer sunburns, and more than a few house moves. There is a rugged honesty to an Aloe. It does not try to be anything other than what it is, which is a desert survivor.
I. Light: The Desert Sun
These are sun-worshippers, plain and simple. In my greenhouse, the Aloes are always in the front row. They want at least six hours of bright, direct light every day. A south or west-facing window is usually the best spot in a home because it lets them soak up those intense afternoon rays.
If they don’t get enough sun, they will start to look pale and “leggy,” reaching out for more light like a person stretching in the morning. If yours is leaning hard toward the glass, it is a sign to move it even closer. Listen to what the leaves are telling you—thick, upright leaves are a sign of a happy, well-fed plant.
II. Water: The Art of the Wait
The most common mistake people make with an Aloe is being too generous with the watering can. These are succulents; they store water in their fleshy stems to survive long droughts. I wait until the soil is 100% dry—all the way to the bottom of the pot. In most homes, that is once every three or four weeks.
When you do water, soak the soil thoroughly until it runs out the drainage holes, then immediately dump the tray. They hate having “wet feet,” and sitting in even a half-inch of water will cause the base to turn mushy and rot within days. If the leaves feel thin and flat, the plant is using its stored reserves and is hungry for a drink. If they feel firm and plump, it is perfectly content. Gardening is a practice of patience, and with an Aloe, waiting another three days is almost always the right choice.
III. Temperature & Humidity
Aloes prefer the warm, dry air typical of most homes. They thrive in temperatures between 55°F and 80°F. While they can handle a bit of a chill, they are not frost-hardy. If the temperature drops below 50°F, make sure they aren’t touching a cold windowpane.
Unlike your tropical ferns, Aloes don’t require any extra humidity. They are perfectly happy in the dry air of a kitchen or living room and don’t require misting. In fact, keeping the leaves dry is the best way to prevent fungal spots.
IV. Soil & Potting: The Gritty Foundation
Drainage is everything for an Aloe. I never use regular potting soil because it holds too much moisture. Instead, I use a specialized cactus or succulent mix, or I make my own by adding a lot of coarse sand or perlite to standard soil.
Aloes also like to feel a bit “snug.” I only move mine to a larger pot when the roots are clearly crowding the existing one. A terracotta pot is the gold standard for Aloes because the porous clay helps wick away excess moisture, protecting the roots from rot.
V. Harvesting the Gel: The Kitchen Apothecary
To use the healing gel, always choose an older, outer leaf. These are the most mature and contain the most nutrients.
- Snip the leaf off as close to the base as possible with a clean pair of shears.
- Stand the cut leaf upright in a small jar for ten minutes. You will see a yellow liquid drain out—this is called “aloin.” You don’t want that on your skin because it can be quite irritating.
- Once it has drained, slice the leaf open and scoop out the clear, cooling gel inside. It’s nature’s own first-aid kit.
VI. Propagation: The Fountain of Pups
An Aloe is a generous plant. Eventually, you will see tiny baby plants, called “pups,” poking up through the soil around the mother.
- Wait: Let them grow until they are about a quarter of the size of the mother plant.
- Separate: Gently pull the mother out of the pot and tease the roots apart. Use a clean knife to snip the pup away, ensuring it has at least a few roots of its own.
- Pot Up: Plant the pup in a small pot of gritty mix. Keep your hands dirty and your mind clear as you wait a full week before giving it its first drink. It needs that time to “callous” over the break so it doesn’t rot.
The Focus Moment
The Aloe Vera reminds us that utility and beauty can live in the same pot. It does not need a lot of fuss to be a vital part of your home. It is a quiet, steady presence that waits until it is needed, offering its own life to help heal our mistakes. Keep your hands dirty and your mind clear, and let this desert native teach you the value of resilience and being prepared for whatever scrapes life throws your way.
Want more plant tips? Follow us on Facebook!

About the Author
Silas
The Practical Greenhouse Mentor
"Silas treats the greenhouse like a workshop of practical results. After 40 years of dirty hands, he’s learned that thriving plants are the result of honest observation and small, correct moves rather than luck. He’s the neighbor who knows exactly why your Pothos is pouting and how to fix it without the fuss."