
Burro's Tail Care
Grow Sedum morganianum with bright light, soak-and-dry watering, and careful handling so the cascading tails stay dense instead of shedding leaves.


Burro's Tail
Sedum morganianum
Care Level
Easy
Light
Bright Indirect
Water
Low
Humidity
Low
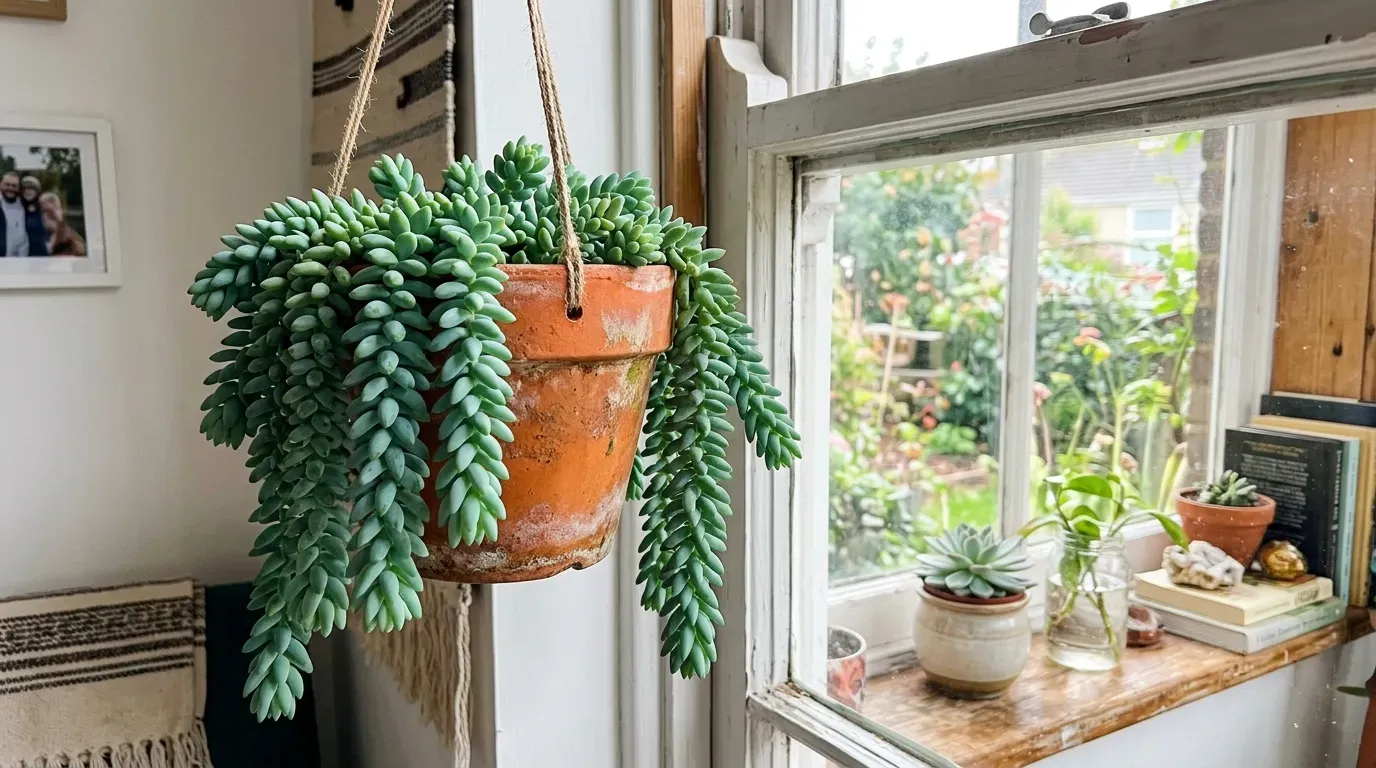
The Sedum morganianum (Burro’s Tail) is a trailing succulent with blue-green, teardrop leaves stacked like shingles on long stems. If your cascade looks thin or the floor fills with beads, the usual culprits are weak light and too much handling, not a fertilizer gap.
Plant pros weigh in simply: bright light, a fast-draining mix, and a gardener who resists fiddling with the foliage. Those leaves drop at a bump, so hang it where traffic stays clear.
Full plant profile: /plant/burros-tail.
Quick Facts
- Difficulty: Easy
- Light: Bright Indirect (some gentle morning sun is fine)
- Water: Soak thoroughly, then wait until the mix is fully dry
- Pet Safety: Safe for cats, dogs, and horses
Light Requirements
Bright light keeps the tails dense and the leaf color honest. Aim for four to six hours of bright, filtered light. Soft morning sun from an east window is excellent. Hard afternoon sun in a west or south window can scorch the plump leaves and bleach the blue-green tone.
Too little light stretches the stems and spaces the leaves, so the braid looks thin and unfinished. Move the basket closer to the window before you fertilize. Look at the leaves; pale, open spacing is a light problem, not a nutrient problem.
Rotate the hanging pot every week or two so one side does not stretch while the other stays compact. Even light keeps the cascade balanced.
Watering Schedule
Use soak and dry. Water until liquid runs from the drainage holes, empty the saucer or cachepot, then wait until the mix is dry all the way through. In a warm, bright room that may be every 10 to 21 days. In winter, stretch the interval.
The leaves store water. Firm, plump beads mean the plant still holds a reserve. Soft, wrinkled leaves usually mean it is time to water. Mushy, translucent leaves with a heavy pot mean overwatering. When unsure, wait. This plant forgives drought far better than wet feet.
Water the soil, not the foliage, when you can. Wet leaves plus cool nights invite spots. If you use a hanging basket, water over a sink so excess can drain fully before you hang it back up.
Humidity & Temperature
Low humidity is fine. Average home air works. Do not mist this plant. Extra surface moisture does not help the roots and only makes leaf drop messier when you handle the tails.
Keep temperatures roughly 65°F to 75°F for comfortable indoor growth. Protect it below about 40°F to 50°F. It is not frost-hardy. Bring outdoor plants inside before cold nights, and keep hanging baskets away from icy glass and heater blasts.
Soil & Potting
Use a well-draining succulent or cactus mix. Roots need air after every watering. Dense soil holds water against the stem bases and invites rot.
A practical mix:
- Two parts cactus or succulent mix
- One part pumice or perlite
Always use a pot with a drainage hole. Terra cotta or a well-draining hanging basket both work. Repot only when needed, usually every two to three years in spring. The plant dislikes heavy handling because leaves shed during the move. Work over a tray so fallen leaves can become propagation stock instead of floor litter.
After repotting, wait several days before the first thorough watering so scuffed roots can seal.
Fertilizer
Feed lightly in spring and summer. A balanced liquid fertilizer (something near 10-10-10) or a cactus fertilizer once a month at the label rate is enough. Dilute if the plant is freshly potted.
Skip fertilizer in winter when growth slows. Extra salts do not create longer tails on a resting plant. If you see a white crust on the mix, flush with plain water and pause feeding.
Do not fertilize a soft, stressed, or freshly propagated plant. Fix light and water first.
Pruning & Maintenance
The main maintenance rule is restraint. Place the plant where sleeves, pets, and door swings will not brush the tails. Every bump costs leaves.
Trim only to remove broken stems or to shorten a cascade that has grown too long for the space. Use clean shears and cut above a leaf cluster. Fallen leaves are normal. Sweep them up and use healthy ones for propagation.
Dust is rarely worth aggressive wiping. If you must clean, support the stem and use a very soft brush. Hard handling defeats the look you are trying to preserve.
Propagation
Leaf and stem cuttings both work. Lay healthy fallen leaves on barely moist grit. Tiny plantlets form at the base over weeks. Keep the medium lightly moist, never soggy.
For faster starts, take a short stem section, let the cut callus for a day or two, then set it on dry gritty mix. Wait about a week before light watering. Bright indirect light helps roots form without cooking the soft tissue.
‘Burrito’ and other compact forms follow the same method. Give them time. Slow above-soil growth usually means slow roots below it.
Common Problems
Leaf drop: Usually handling, vibration, or a recent move. Relocate to a quieter spot and stop rearranging the tails.
Root rot: Mushy stems and collapse after wet soil. Cut to firm tissue, callus, and restart in dry grit with longer gaps between waterings.
Stretching: Not enough light. Move closer to a bright window before you prune for shape.
Sun scorch: Bleached or crispy patches from hard afternoon sun. Pull back from the glass or add a sheer.
Mealybugs: White cotton in leaf joints. Treat carefully with alcohol on a swab and isolate until clear.
Pro Tips for Long-Term Maintenance
If you need to move a mature basket, gather the tails gently into a loose bundle with soft twine or a strip of fabric first. You will still lose a few leaves, but you will save most of the cascade from a floor full of beads.

About the Author
Silas
The Practical Greenhouse Mentor
"Silas treats the greenhouse like a workshop of practical results. After 40 years of dirty hands, he’s learned that thriving plants are the result of honest observation and small, correct moves rather than luck. He’s the neighbor who knows exactly why your Pothos is pouting and how to fix it without the fuss."