
Anthurium Care
A practical guide to growing Anthuriums. Find advice on light for waxy blooms, watering, chunky soil mixes, and humidity requirements.


Anthurium
Anthurium andraeanum
Care Level
Moderate
Light
Bright Indirect
Water
Moderate
Humidity
High
If your Anthurium stays green but refuses those waxy red or pink spathes, light and root aeration are usually the missing pieces. These rainforest epiphytes want bright filtered light and chunky soil that drains fast, not a dense, always-wet pot.
Plant pros weigh in on the baseline: bright indirect light, water when the top inch dries, humidity around 60% or higher, and a barky mix with real drainage holes. Get the root zone right, and blooms become a habit instead of a mystery.
Quick Facts
- Difficulty: Moderate
- Light: Bright Indirect
- Water: Water when the top inch of soil is dry
- Pet Safety: Toxic
Light Requirements
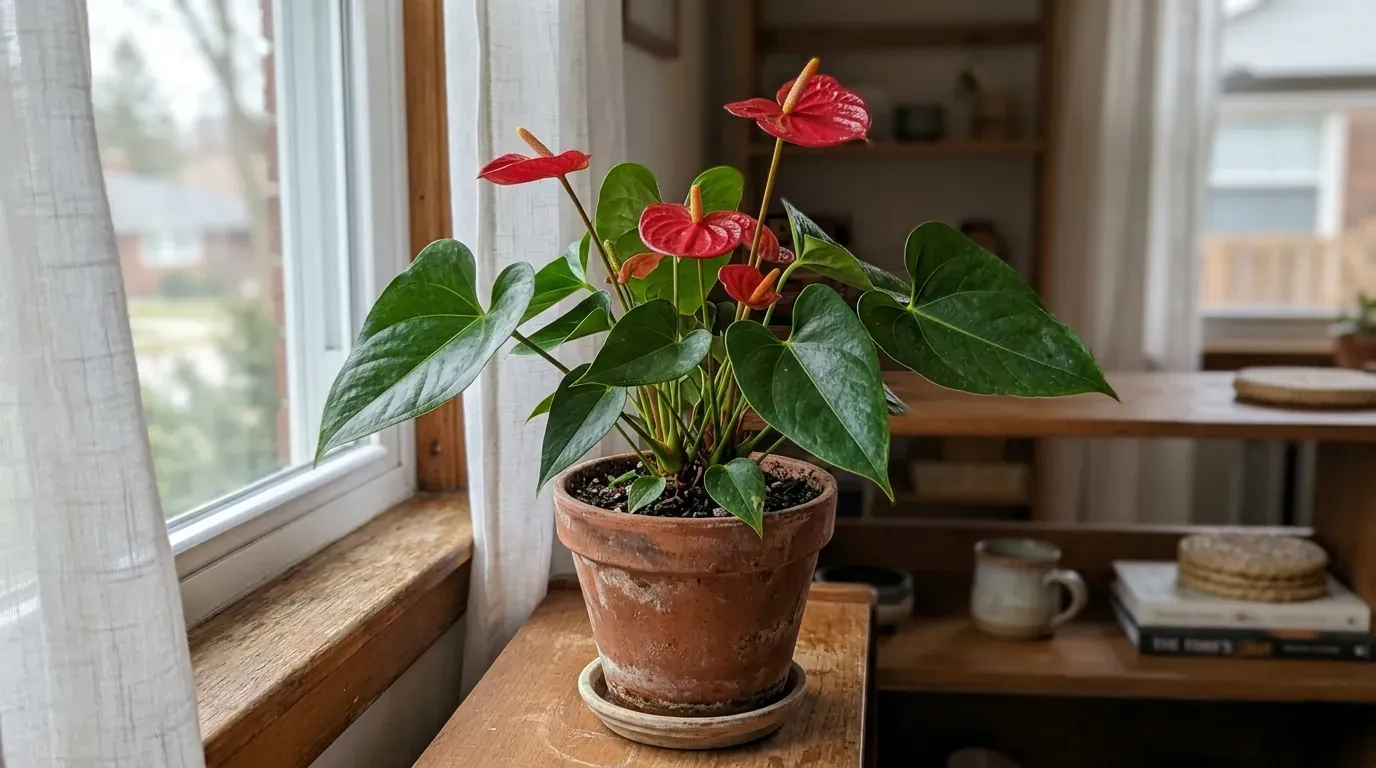
Anthurium andraeanum needs bright, indirect light to produce its signature waxy spathes (the colorful parts many people call flowers). In the canopy, it gets plenty of filtered brightness without hot midday sun.
In a dark room, flowering stalls and growth turns leggy. Hot direct afternoon sun bleaches glossy leaves and leaves dry brown burn marks. An east window, or a few feet back from south or west glass, is a strong default.
Watering Schedule
Anthuriums grow as epiphytes with roots used to moving air and quick-drying rain. Heavy, soggy soil suffocates those roots and leads to rot.
Water when the top inch feels dry. Soak until water flows from the drainage holes, then empty the saucer. In active spring and summer growth you may water about weekly. In winter, stretch toward every two weeks or whenever the pot feels light.
Humidity & Temperature
Aim for about 60% humidity or higher. Dry indoor air dulls the glossy sheen and crisps leaf tips.
Use a small humidifier, group with other tropicals, or set the pot on a pebble tray with water below the pot base. Keep temperatures between 65°F and 85°F. Avoid drafty doors, AC vents, and heater blasts.
Soil & Potting
Standard houseplant soil is too dense. Use a chunky mix such as equal parts peat moss, orchid bark, perlite, and charcoal so water runs through while air stays around the roots.
Choose a planter with large drainage holes. Terracotta helps the mix dry between waterings. Repot about every two years to refresh the substrate.
Fertilizer
Feed every four to six weeks in spring and summer with a phosphorus-forward liquid fertilizer (often sold as a bloom booster) diluted to half strength. Hold fertilizer in autumn and winter when growth slows.
Roots are salt-sensitive. If crust builds on the soil, flush with clean water and pause feeding.
Pruning & Maintenance
Wipe both sides of the leaves monthly with a soft damp cloth. Dust blocks light and slows photosynthesis.
Cut faded spathes and yellowing lower leaves at the base with clean shears. Removing spent blooms helps the plant put energy into new growth instead of seed.
Skip leaf-shine sprays and oils. They clog leaf pores. Clean water, optionally with a drop of mild dish soap on the cloth, is enough to reveal the natural gloss.
Propagation
Division is the easiest method on a mature plant. At spring repotting, shake soil from the roots and look for offsets with their own root systems. Tease them apart or cut with a clean soil knife, then pot into fresh chunky mix. Keep warm and humid until new growth appears.
Stem cuttings can work when a stem section includes a node and roots, but division is more forgiving for beginners.
Common Problems
Root rot: Yellowing, wilt, and drop while soil stays damp. Trim mushy roots and repot into fresh chunky mix.
Brown dry tips: Air too dry. Raise humidity.
No blooms: Often low light or missing phosphorus during the growing season. Brighten the spot and resume half-strength bloom feeding in spring.
Toxicity: Calcium oxalate crystals irritate mouth and throat if ingested. Keep out of reach of pets and children.
Pro Tips for Long-Term Maintenance
Clean leaves with a soft cloth and plain room-temperature water instead of shine products, and flush the pot a few times a year to clear fertilizer salts. Those two habits keep pores open and roots ready for the next bloom cycle.

About the Author
Silas
The Practical Greenhouse Mentor
"Silas treats the greenhouse like a workshop of practical results. After 40 years of dirty hands, he’s learned that thriving plants are the result of honest observation and small, correct moves rather than luck. He’s the neighbor who knows exactly why your Pothos is pouting and how to fix it without the fuss."